First, here's the view looking into the room. The Before pic is on the left, clearly displaying the horrid vinyl flooring which was probably installed when the house was built in 1985. Also you can see a touch of the yellow color on the walls, added by the prior homeowners and, we're guessing, picked by their 4-year-old girl. It's the only explanation. The After pic is on the right obviously...the tile behind the shower curtain hasn't changed, but I didn't quite replicate this pic exactly. Oh well.
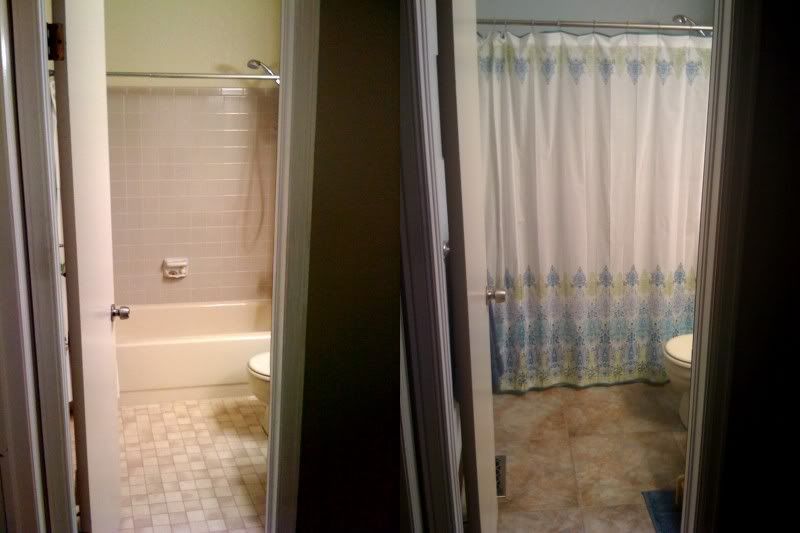
Looking closer, this is the Before vs. After paint color. See a difference? What amazed us was how much the new paint changed the look of the tile in the shower. With the dingy yellow paint it looked like an off-tan pukey color that needed to be replaced. Once the new paint was in place, the tile looks greyish and not bad at all.
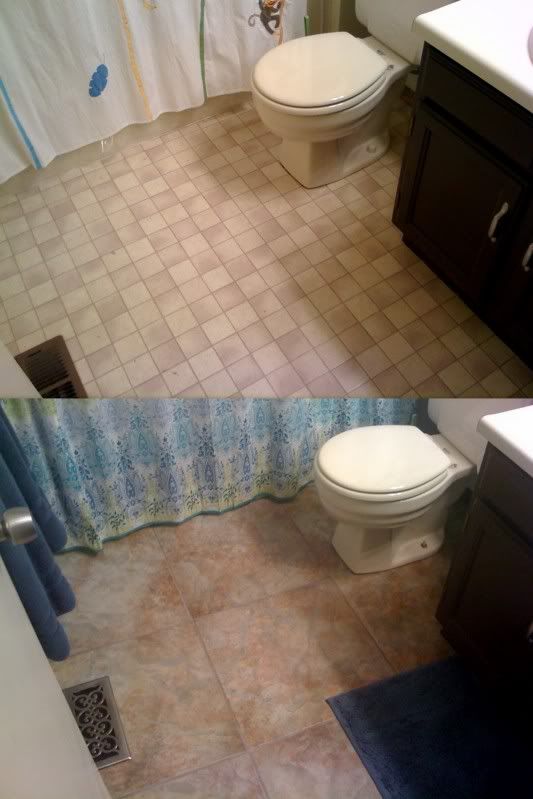
Also in this pic you can see the trim we replaced. It's dark brown now to match the vanity under the sink. I think it ties the room together nicely and makes the whole thing cozier, but that may be biased. Also you can see more of the new floor- I don't know why the bottom right corner of the pic looks that red. It's not like that in real life.
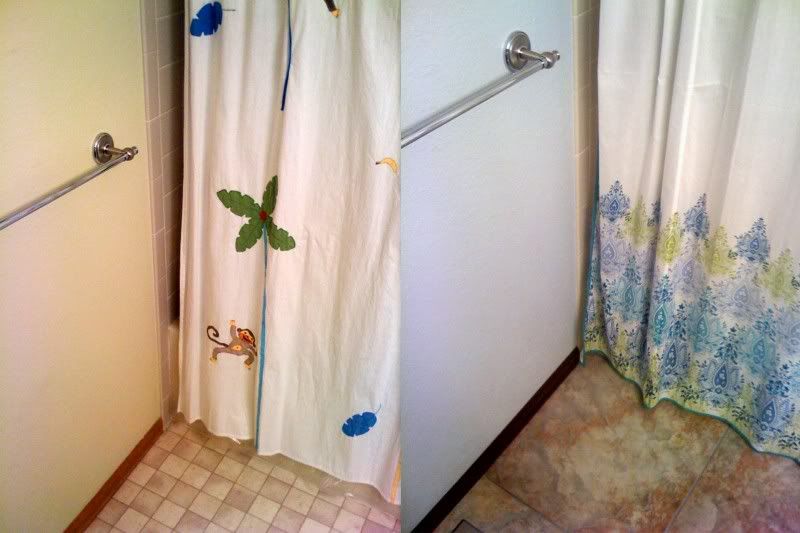
This is looking back towards the door. I love how the paint and reworked trim color go together, especially compared to the Before pic. The yellow with the light trim just didn't do anything for the space.

And now a word on the floor, since this pic has more visible than the others. We hated the old stuff. It was like a rejected 70's dorm bathroom floor sample. The pic doesn't do its horridity justice. The new stuff is porcelain 20x20 tiles picked up at our local tile place down the street (A World of Tile). We love the color and it has a nice subtle texture to it under the toes.
And just because I have to mention it...the floor grate on the left was replaced to better match the room. Almost everything else in the room was a brushed silver, and the new grate looks much nicer. You can't see it in the pics, but the tile around the grate is solid...I managed to cut a perfectly sized (4"x10.5") rectangle out of the center of the tile using only the $88 tile saw from Lowe's. That cut alone took the better part of 2 hours, but it was totally worth it.
So that's my first major home-ownin' renovation! I'm pretty darn happy with how it turned out. There's only a 2-week gap from the Before pics to the Afters. Like Steph says, I may not have gotten much else done in the last couple weekends (laundry, cleaning, etc.) but the stuff I did get done will make a difference for a whole lot longer. (And yes Matthew, there are contractors who do this kind of thing, but this was totally worth doing myself!)


1 comment:
Looks great!
Post a Comment